CLI Client for VMWare VSphere
Last week, I wanted to create some VMs and attach a dozen volumes to them using VMWare vSphere. However, using vCenter WebUI is tedious.
I researched and found there is a tool called govc (you can find here) that may satisfy my needs.
Find the suitable version with your OS and download it, find a corresponding Linux architecture version and download it.
There are a couple of ways to check the Linux architecture version, you can specify these commands on your terminal:
$ uname -m
x86_64

$ arch
x86_64
Let's download, untar and save it into our $PATH.
$ wget https://github.com/vmware/govmomi/releases/download/v0.37.1/govc_Linux_x86_64.tar.gz
govc_Linux_x86_64.tar.gz                     100%[=================>]  14.45M  1.15MB/s    in 13s

2024-05-06 00:44:53 (1.11 MB/s) - ‘govc_Linux_x86_64.tar.gz’ saved [15151006/15151006]

$ tar -xzvf govc_Linux_x86_64.tar.gz
CHANGELOG.md
LICENSE.txt
README.md
govc

$ ls -l govc
-rwxr-xr-x 1 stackops stackops 42635296 Apr 19 00:09 govc

$ mv govc /usr/local/bin/

$ govc version
govc 0.37.1
Before we start using it, we need to prepare the account information and vCenter WebUI URL for it to connect:
export GOVC_USERNAME=your-webui-username
export GOVC_PASSWORD=your-webui-password
export GOVC_INSECURE=1
export GOVC_URL=https://<webui-url>/sdk
After that, we can test with the basic command:
$ govc ls
/rnd-ttepz/vm
/rnd-ttepz/network
/rnd-ttepz/host
/rnd-ttepz/datastore
# the output indicates that it can connect to the vCenter server

# we can go into sub-directories for inforamtion
$ govc ls vm | grep sang
/rnd-ttepz/vm/sangnn-c3
/rnd-ttepz/vm/sangnn-c1
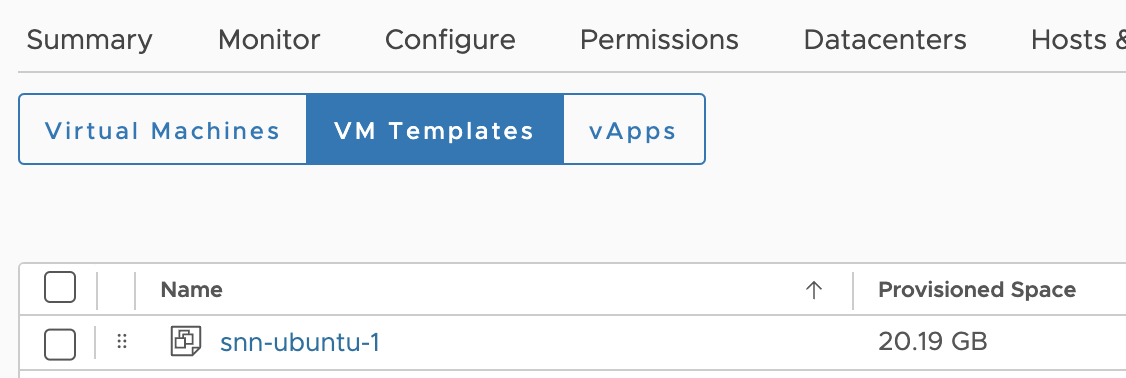
If you have used vCenter before, you know that we have a concept of template - basically, the image that we had wrapped up. Let's try to create a Virtual Machine (VM) from a template. So I have a template named snn-ubuntu-1.

Let's dive into the commands:
# if we check the /vm, we will see it
$ govc ls vm | grep snn
/rnd-ttepz/vm/snn-ubuntu-1
# find the host, corresponding datastore and network
$ govc ls host
/rnd-ttepz/host/HPE
/rnd-ttepz/host/DELL
$ govc ls host/DELL
/rnd-ttepz/host/DELL/10.50.73.253
$ govc ls datastore
/rnd-ttepz/datastore/datastore646_73_253
...
$ govc ls network | grep 573
/rnd-ttepz/network/VLAN-573
...
# craft all the above information and clone `snn-ubuntu-1`
# to the new VM `sangnn-c2`
# with 8GB ram (8192 MB) and 16 vcpu
$ govc vm.clone -vm=snn-ubuntu-1 \
-host=DELL/10.50.73.253 \
-ds=datastore646_73_253 \
-net=VLAN-573 \
-on=true -m=8192 -c=16 sangnn-c2
# verify
# govc ls vm
/rnd-ttepz/vm/sangnn-c3
/rnd-ttepz/vm/sangnn-c1
/rnd-ttepz/vm/sangnn-c2
# add new 10GB disk to the VM
$ govc vm.disk.create -vm=sangnn-c2 \
-name=sangnn-c2/disk1 -size 10G \
-ds=datastore646_73_253
# or even better we can loop it
for i in $(seq 1 7); do
govc vm.disk.create -vm=sangnn-c2 \
-name=sangnn-c2/disk$i -size 10G \
-ds=datastore646_73_253
done
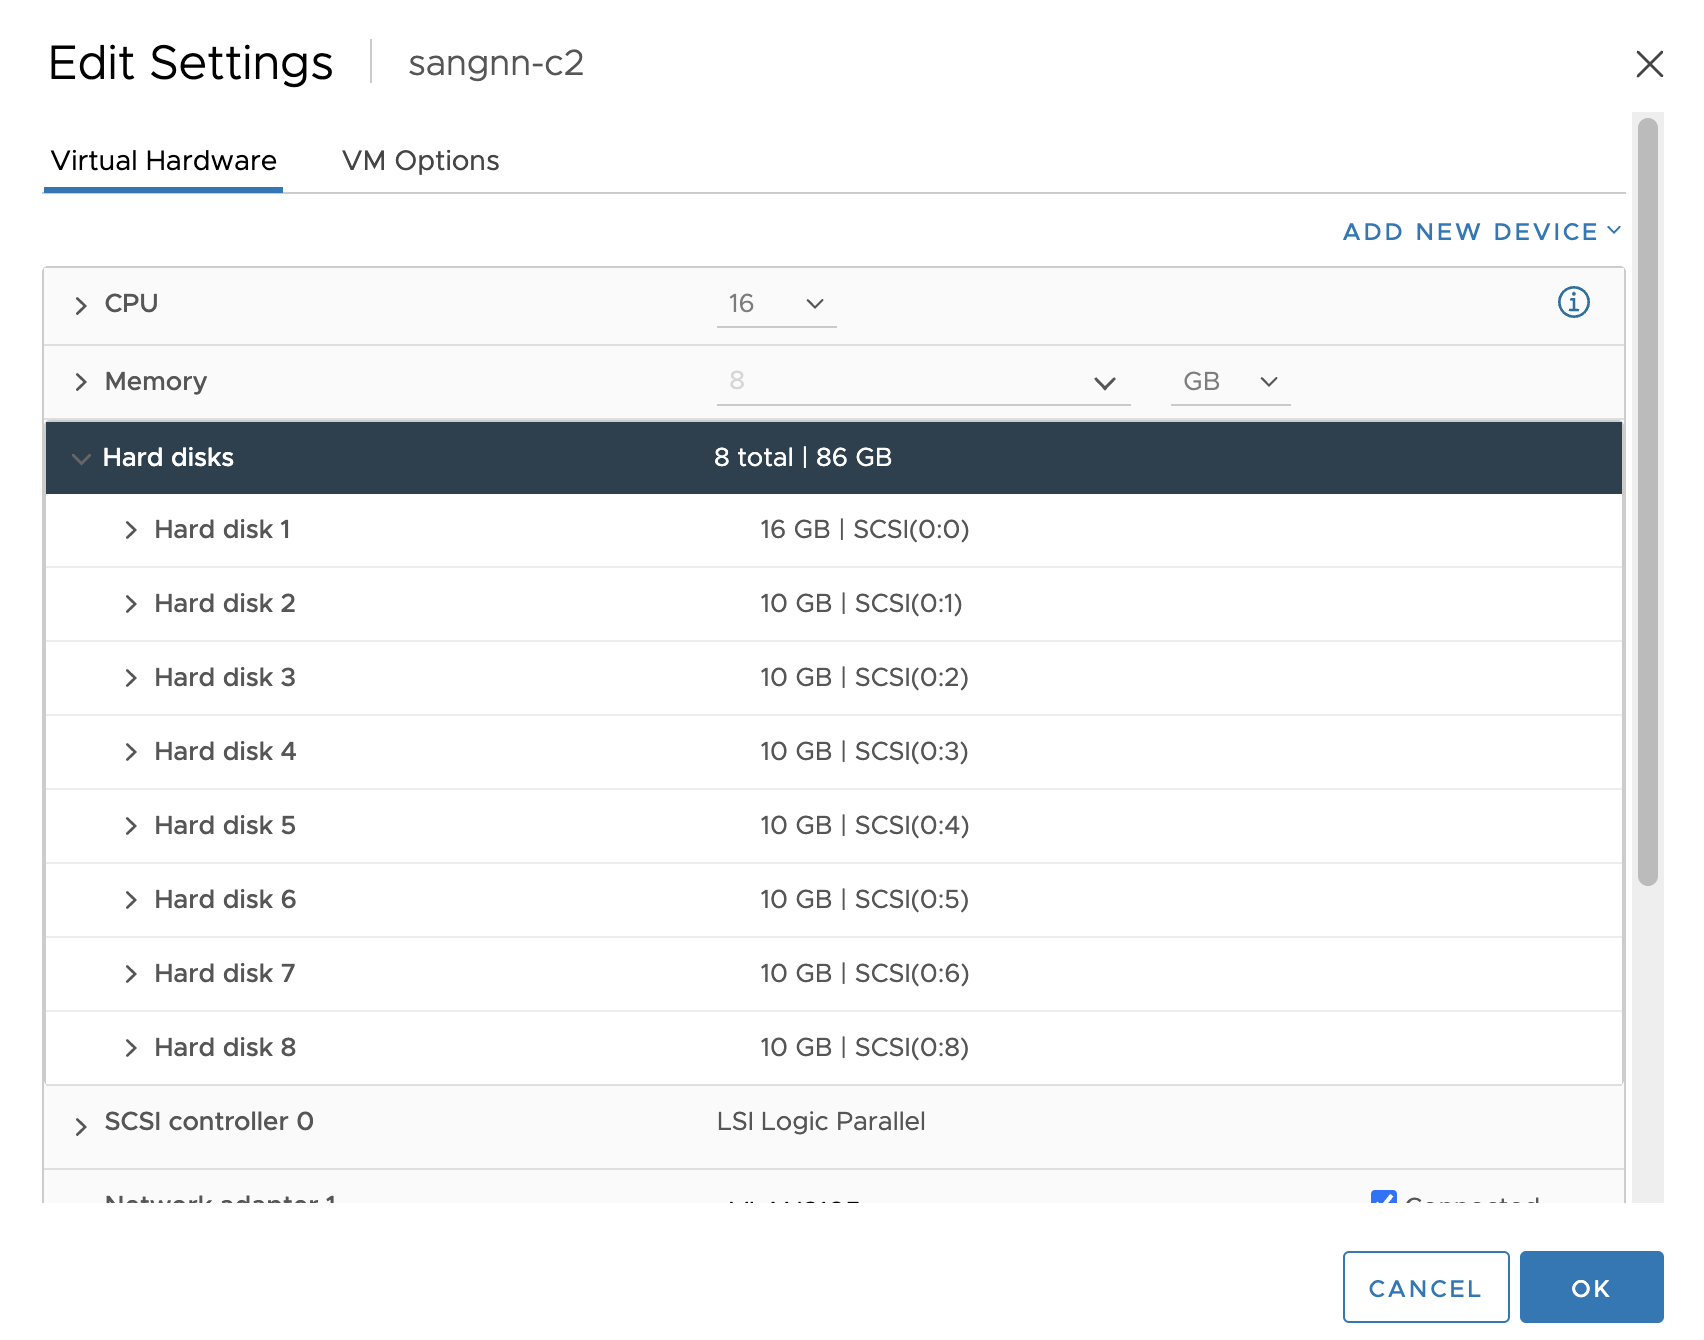
After that we can verify our final result by Right Click VM > Edit Settings:

The new VM is in place with 16cpu, 8GB memory and 7 additional 10G disks (the Hard disk 1 is the OS disk).
